
Bash, or Bourne Again SHell, is a scripting language commonly used by system administrators of the Linux platform. Bash allows for simple automation of tasks related to server / hardware management, application deployment, network administration, and more. In general, software engineers who have responsibilities in the DevOps and SRE functions will have a grasp of bash as it allows them to navigate the complexities of Linux quickly. It’s important to note that Python also has libraries that can address similar challenges; however, the advantage of Bash is that it’s lightweight. It provides no object-oriented programming (OOP) functionality but is quick to compile and execute. Note that Bash can be written and used on Linux only - You can write commands directly in Terminal or by creating scripts.
Note that if you’re using Windows, you can easily utilize a tool called WSL, or Windows Subsystem for Linux, to install Linux “as an application” and experiment with Bash.
Getting Started with Bash
In this section, we’ll walk you though the absolute basics of getting up and running using Bash. If you’re an advanced user, feel free to skip ahead.
Let’s start by creating a file that will contain Bash scripts. In Linux, you can do so by issuing the following command:
You can confirm that the file has been created by issuing the following Linux command:

We can use the vim editor to change the contents of our file; let’s issue the following command and write the most basic example - Hello World!
Type “echo Hello World!” as the first line.
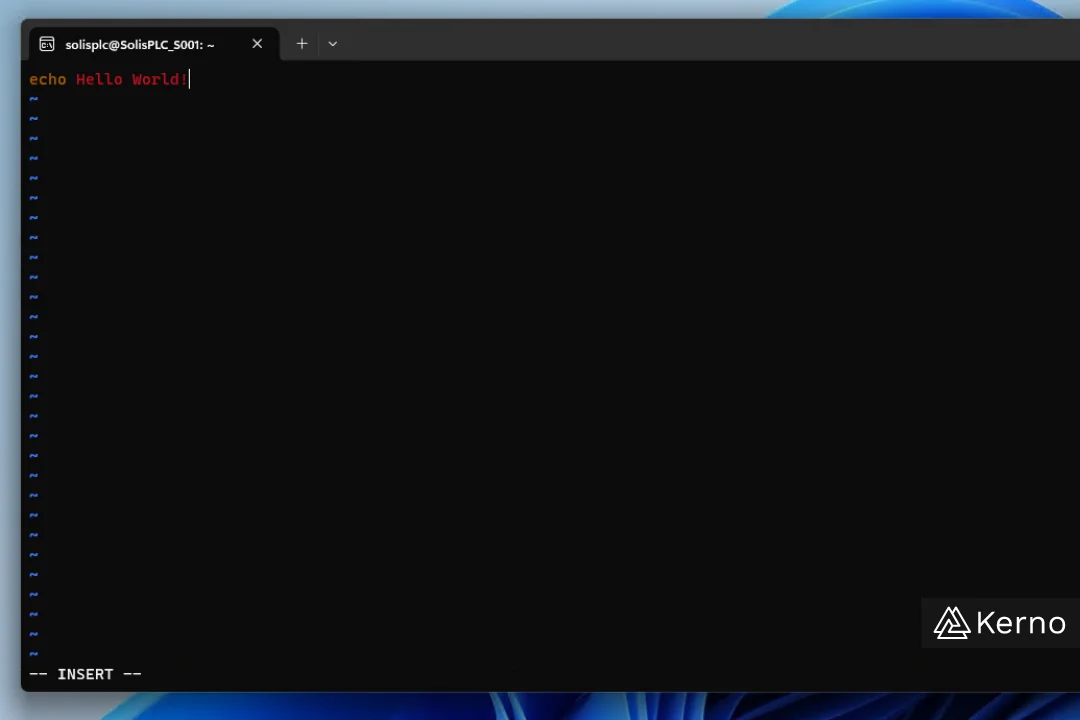
Save the contents of the file by first pressing Ctrl + C, followed by typing “:wq” which instructs vim to write, then quit. You’ll be brought back to the Linux terminal.
To run the file, issue the following command:
Linux File Permissions & Execution Via Bash
By default, files are protected from being executed by anyone but the current user. You can bypass the requirement by using the sudo command or by granting the file the right permissions to be executed.
To verify the current permissions of the files in the directory, you can issue the following command:

You’ll immediately notice that every file will be preceded with dashes and letters describing permissions. To execute the file via a bash command, we want to change the permissions by adding executable permissions. The following command will give the user the permission to execute the file via script:CMD - chmod u+x “file_name”.shNote that you won’t get a confirmation message that the permissions have been changed; to verify that the file has executable permissions, you can re-run the “ls -l” command and notice that there’s no an “x” within the permission settings for that file. (Ex: notice the shelltext.sh file line in the figure above.)You’ll also need to add the relative path to your file.
Step 1 - Issue the following command to find the current path:
Step 2 - Navigate to your file via vim by issuing the same command as we did before:
Step 3 - At the very top of the file, add the relative path preceded by a “#!” combo as shown below:
At this point, you can use the following command to execute the Bash file:CMD - ./”file_name”.sh
Bash Variables
If you’ve mastered another programming language, you’ll need no convincing that variables are an important construct. If you aren’t familiar with what a variable is, it’s simply a register that contains a value that can be changed dynamically. In other words, you allocate memory on your machine to store a value that can be changed via software.
You can create and use variable in Bash directly from command line. Here’s the most basic command to get you started:

You’ll notice that we get a response from the terminal utilizing our instantiated variable.Let’s now work on a script that utilizes variables. You can re-utilize the file from before or create a new file with the right permissions.
Here’s the basic script we’re going to use:
Save the file and run the script as before to see the output:

Position-Based Variable in Bash
Passing variables to a Bash script as you would to a software function or program is possible. In Bash, you’ll be passing the variables based on their position in the script.
Let’s take a look at an example of position-based variable passing. Create the following file that contains 3 variables we’ll pass to it later. As always, remember to take care of the permissions before executing, or you’ll run into issues.
Execute the file

Working with Files Using Bash
One of the most common tasks in software development is to access, write to, and read from files. These operations can be used to store and access data, to parse a set of information, or to store something that will be gone from memory after the application has been stopped.
You can use the “>” and “>>” operators to store information within a file using Bash. Let’s go through a few examples using these instructions.
The command above will input the string “Hello World” into the file “hello.txt” To display the contents of a file, you’ll need to run the following command:
The output, as expected, will be “Hello World.”
Now, let’s try to repeat the command but with a different string:
After displaying the file's contents via the “cat” command, you’ll notice that the file's contents changed to the second string. This is useful in certain situations but may be a problem in others - the “>” operator will overwrite the file's contents as the instruction is executed.
The “>>” operator will append a string to a existing file. Let’s see this in action!
You can immediately see how this way of storing data could be useful in applications that require a log of operations. Paired with a function that parses through the data, it’s possible to create a system that logs and displays basic time series logs, saves the state of configuration parameters, and more.
String retrieval from files in Bash
We can do the opposite of what we’ve discussed above, which is to retrieve the information from a file by issuing various commands.
The command above will return the count, or the number of words within a file. The “<” operator specifies the capture of information for the specific instruction that precedes it.
The command above will let the user input a set of strings on a multi-line basis. The process will terminate when the same keyword (as specified on the right hand side of the “<<” operator) is issued. Here’s what it looks like in practice:
We can also insert a string into an output by using the “<<<” operator like so:
As expected, the command on the left will be applied to the string on the right of the operator and return the integer value for the count.
Bash Conditional Statements
Conditional statements are key in most other programming languages. As one would expect, Bash scripts are no exception. In this section, we’ll cover all the available conditional statements in Bash.
Bash If Statement
We can create an IF condition that would output a string given that the output matches the check we’ve created.
The snippet above will check the input to the instruction and reply with the “Hello stranger” string if the input is equal to “hello.” Let’s do a quick test!

As expected, the code will only return the string if the input matches what’s inside of the IF condition within the file.
Bash Else If Statement
You can chain conditional statements in Bash by using the Else If modifier. It’s important to note that the script will only execute the first IF statement that evaluates to TRUE. In other words, if there are multiple statements that are true within the “Else If” sequence of statements, only the first one will be executed. Let’s take a closer look at an example:
You may notice a few things in the script above. As we’ve discussed, there’s no limit to the number of else if statements within Bash. Secondly, note that we’ve specified two conditions that are equal to one another (the test of “test”). As mentioned above, the second condition will never execute as the first one will surely capture the set flag before reaching the other one. Here’s how the above executes:
Bash Else Statement
The Else statement in Bash will execute if no other conditions are met. It doesn’t require any parameters. We can add a line of code to our previous script to see it in action:
The code will output the "I don’t know what you want!" string should the input differ from any of the strings above.
Bash Case Statement
The case statement provides an easier way to check a variable against a set of conditions. In Bash the syntax for the case statement is shown in the following example:
You’ll notice a few interesting things in the way the code is written…
- The case statement starts and stops with the “case” and “esac” keywords. If you’ve not figured it out, they’re the opposite of one another.
- The case statement allows you to specify multiple conditions via the “|” operator. Think of it as an “OR” statement in other languages - you can chain as many conditions as you’d like by doing so. As you’d expect, you can also separate thos conditions into separate checks.
- The “*” operator is used as an else statement - it will execute if none of the other conditions have been met.
Bash Arrays
Bash provides a straightforward way of creating, querying, and managing arrays or collections of elements. In this section, we’ll briefly overview how you can create an array and pull all or a specific element from an array.
Creating an Array in Bash
We’ve instantiated a variable in a separate section. For an array, you can specify a set of variables separated by spaces. Each one of these variables will be allocated a space within an array. Notice that in Bash you don’t need to add commas to the elements.
The “FIRST_ARRAY” creates an array of 6 elements.CODE - echo $FIRST_ARRAYYou’ll notice that the instruction above won’t yield the expected result. Instead, it will print the first element of the array - “elem1.”
To print all the elements, you can use the “@” modifier as shown in the example below:
Note that you can also print a specific element within the array by specifying the position starting from 0 instead of the “@” modifier. Here are some examples:
Conclusion on Bash Scripting
We’ve covered a variety of concepts when it comes to Bash scripting. This language is extremely popular in DevOps, SRE, and platform engineering as it provides a lightweight approach to writing scrips that access files, data, and allow for system automation.
We’re planning on creating a series of tutorials that cover advanced scripting using Bash.